A Guinea Pig Castle
I built a castle for my guinea pigs.
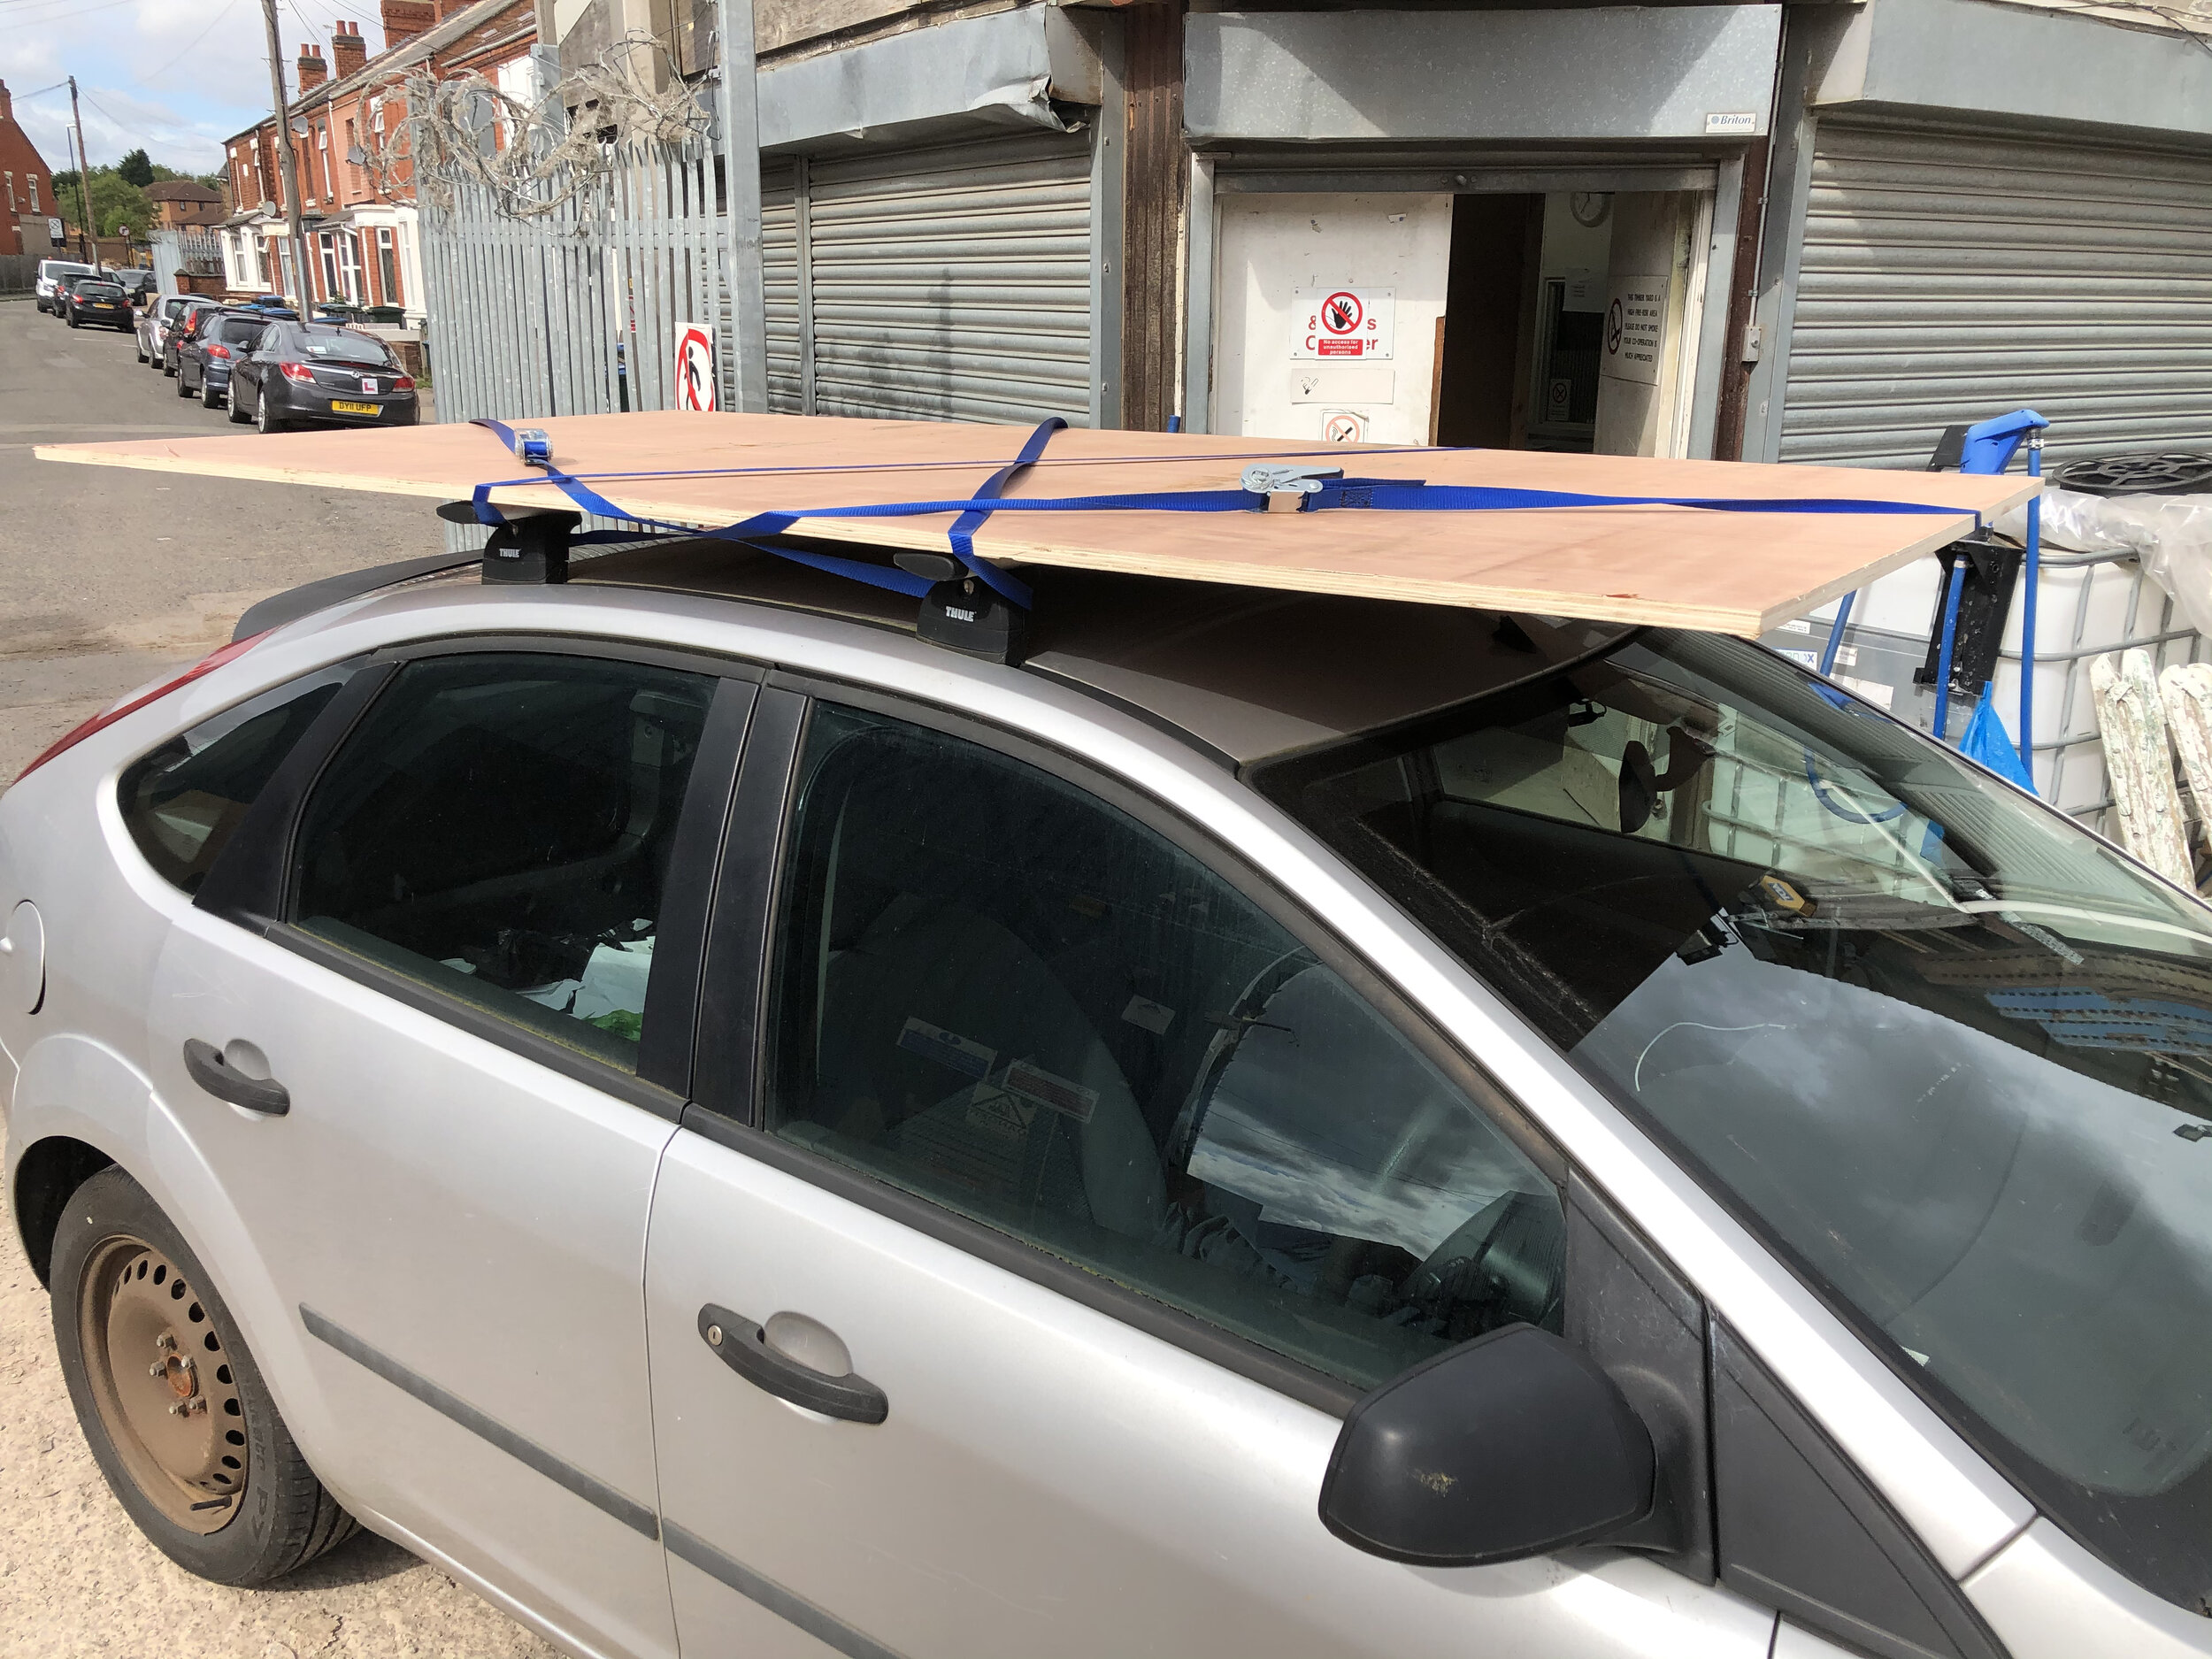
The base starts with a piece of plywood, 2440mm x 1220mm (i.e. a standard size sheet). I used some very heavy duty ply (I think it was 12mm thick) because I wanted to be able to walk on it. Here it is on top of my car:
The edges needed sanding. My friend Kate was here to help me.

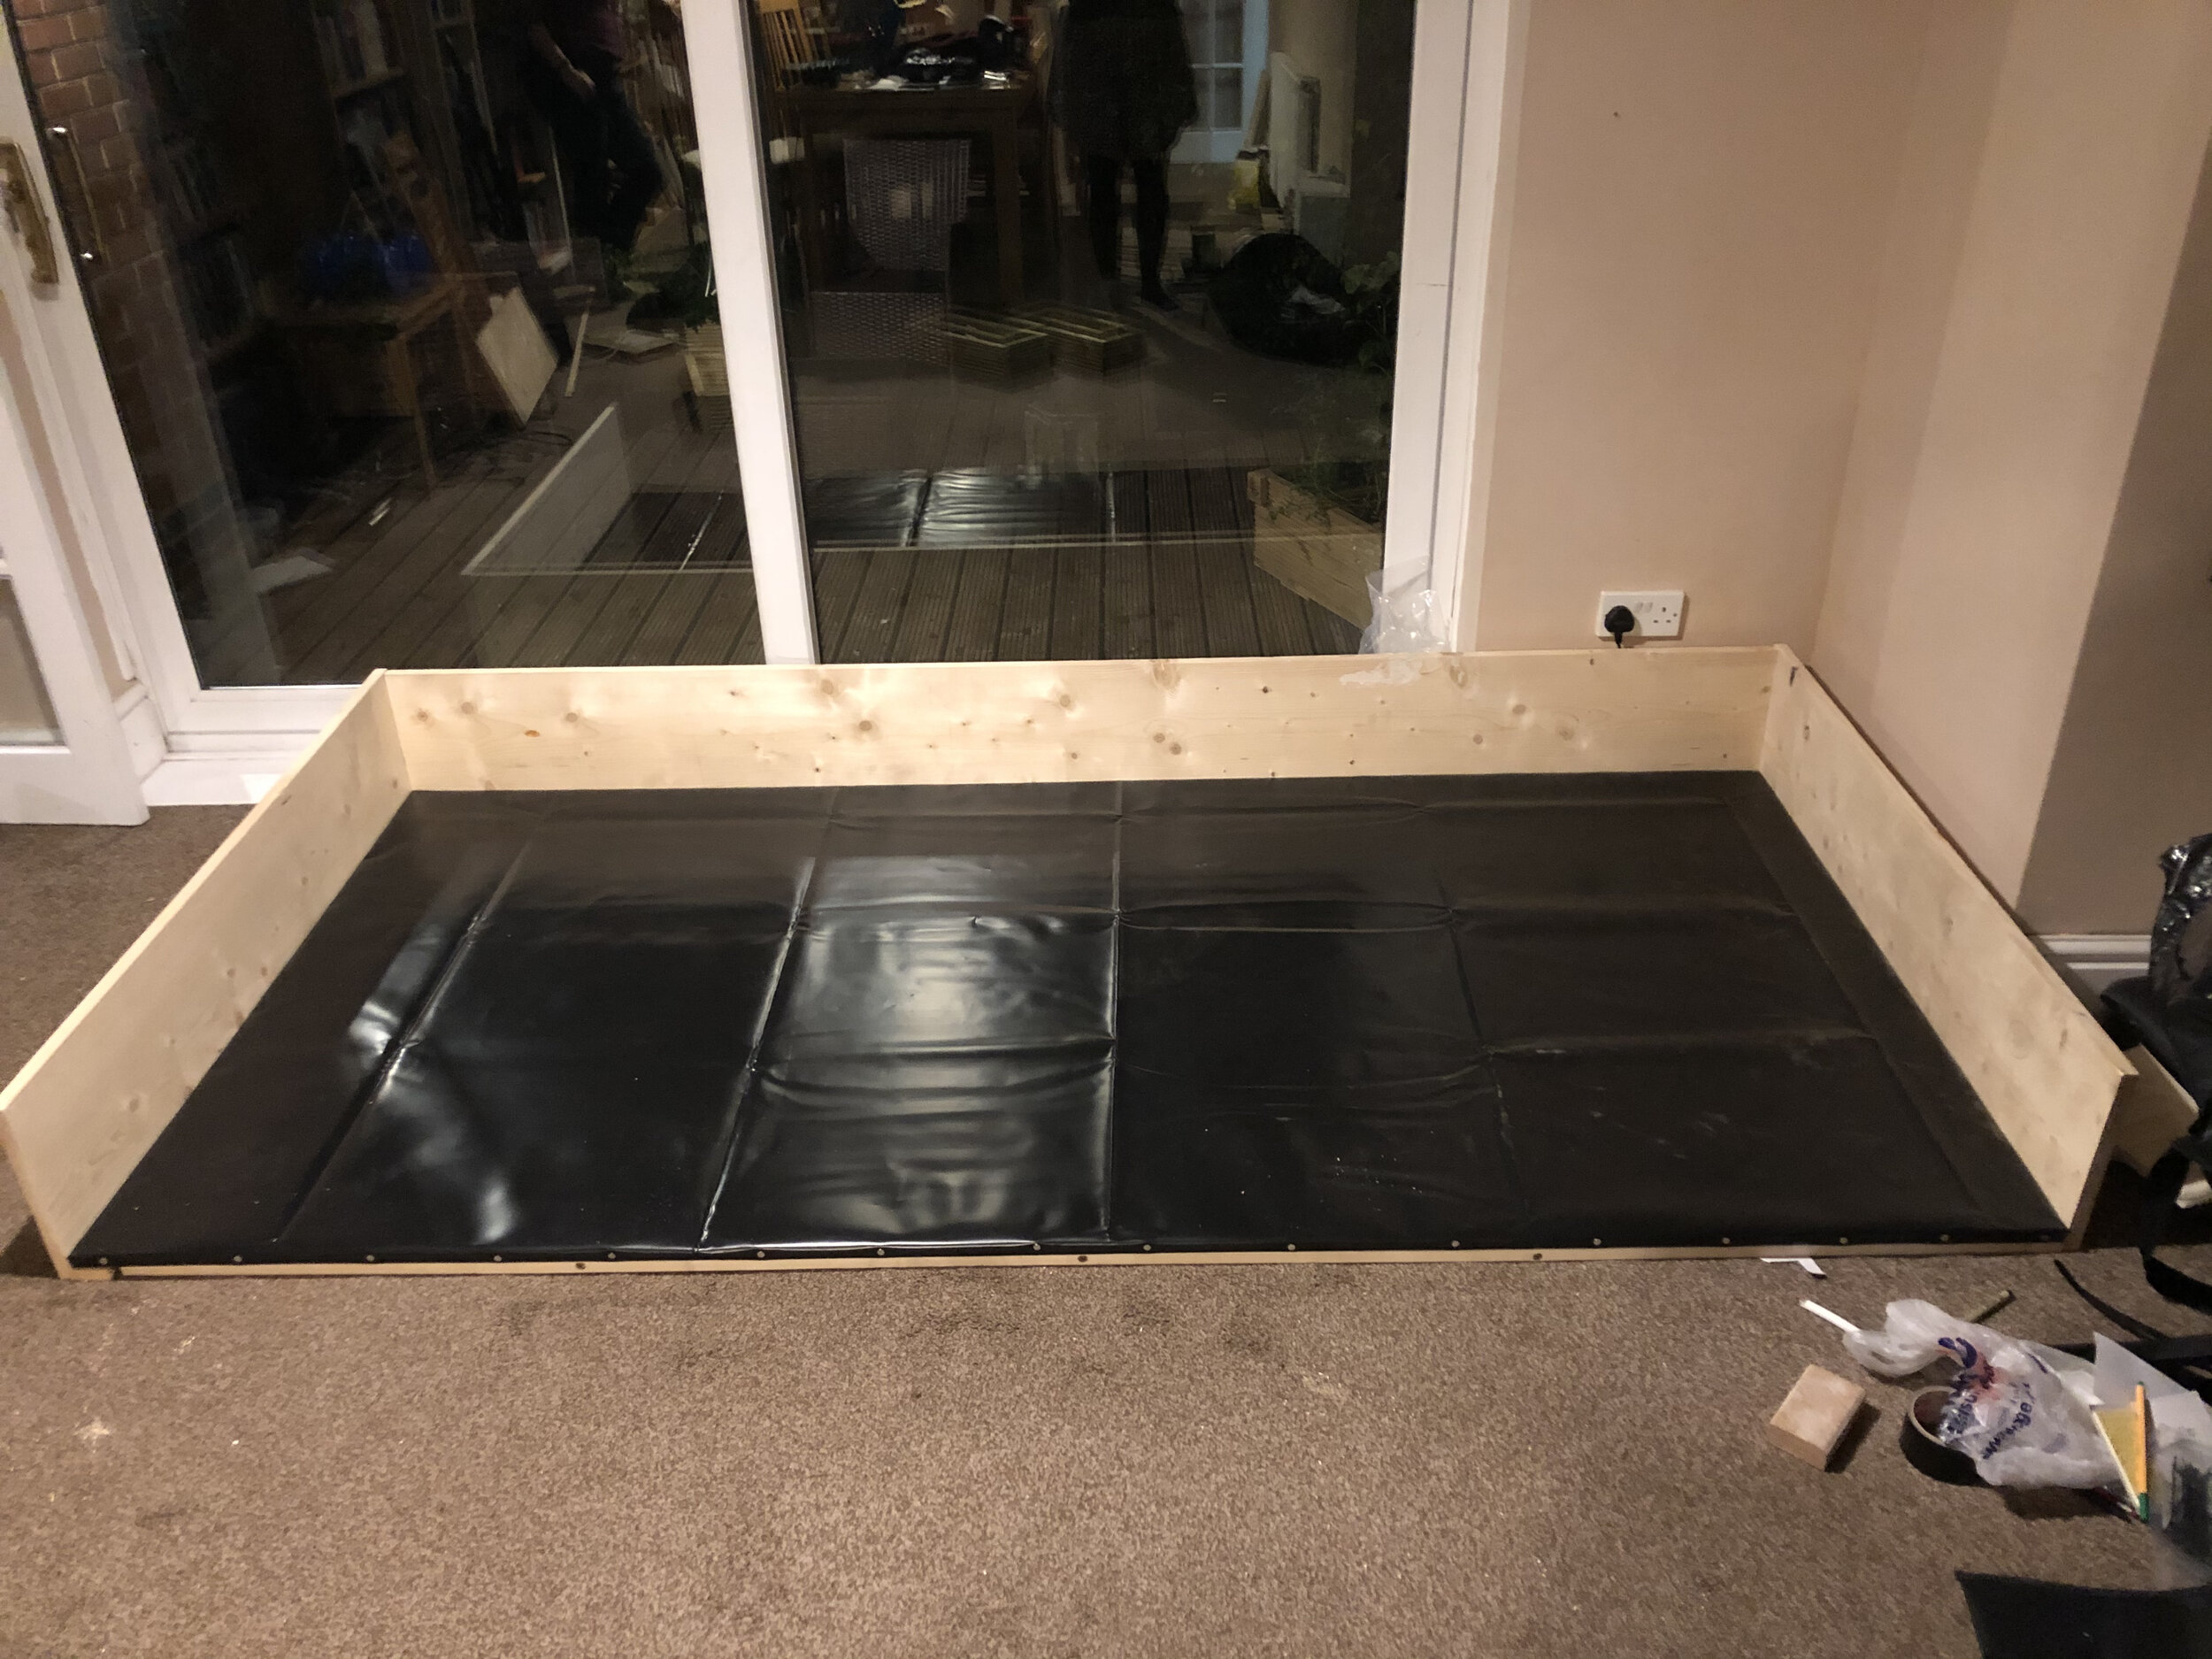
I covered the base in a plastic pond liner, folded it round the sides and secured with nails to the edge of the base. I folded the liner right round underneath then trimmed off the excess (but leaving a bit of an overhang).
Then I took 25mm x 50mm planed white timber, made a border round the underside of the base (to raise the base 25mm off the floor). Also added a few cross pieces in the middle. This frame was screwed through the overhang of the pond liner up into the base, which held the flappy edges of the liner in place.
The three wooden sides of the enclosure are 25mm x 275mm planed timber. I used regular wood screws, and screwed the timber to the edge of the plywood base. I also screwed the side pieces into the edge of the back piece. I didn't measure the screws in advance, I just drilled a small pilot hole through the outer piece I was screwing, then countersunk the hole a little, then put the screw in and let it do its work.
Given the overlap with the base, the sides aren’t all that high if your pigs are escape artists!

The front of the enclosure is custom cut acrylic. This was expensive and took time to be made, so I'm not sure I recommend that. It does however look nice! I added screw holes to the acrylic to screw it into the base and the sides. Here’s it before screwing it in, leaning against the enclosure (with the protective film still on!):

Oh, and I also made a little wooden gate, and used a wood burning tool to make it look pretty:

The gate I cut out with a jigsaw. The gate posts are fixed with one screw from the underside of the base, and also the acrylic is screwed into the gate posts. The gate is mounted on a single brass hinge.
I also went around the bit where the pond liner met the wood with some silicone aquarium sealant, to prevent any pig urine getting into the gap.
Here’s the enclosure once the acrylic was screwed on and the gate mounted:

That's it for the main enclosure. Four midwest-size Guineadad liners cover it. (I bought some of the largest Guineadad liners, but I regret that since Midwest ones would have tessellated better.)
Here’s how it looked at this point:

I soon bought this hay rack from Etsy. (I tried various other ones too but this one worked well and the pigs liked it.) However, it was not super stable, and if all of them pulled on it at once, it could tip over. Also, they tended to pull hay down on to the floor and make a mess.

So I built a hay rack tray.
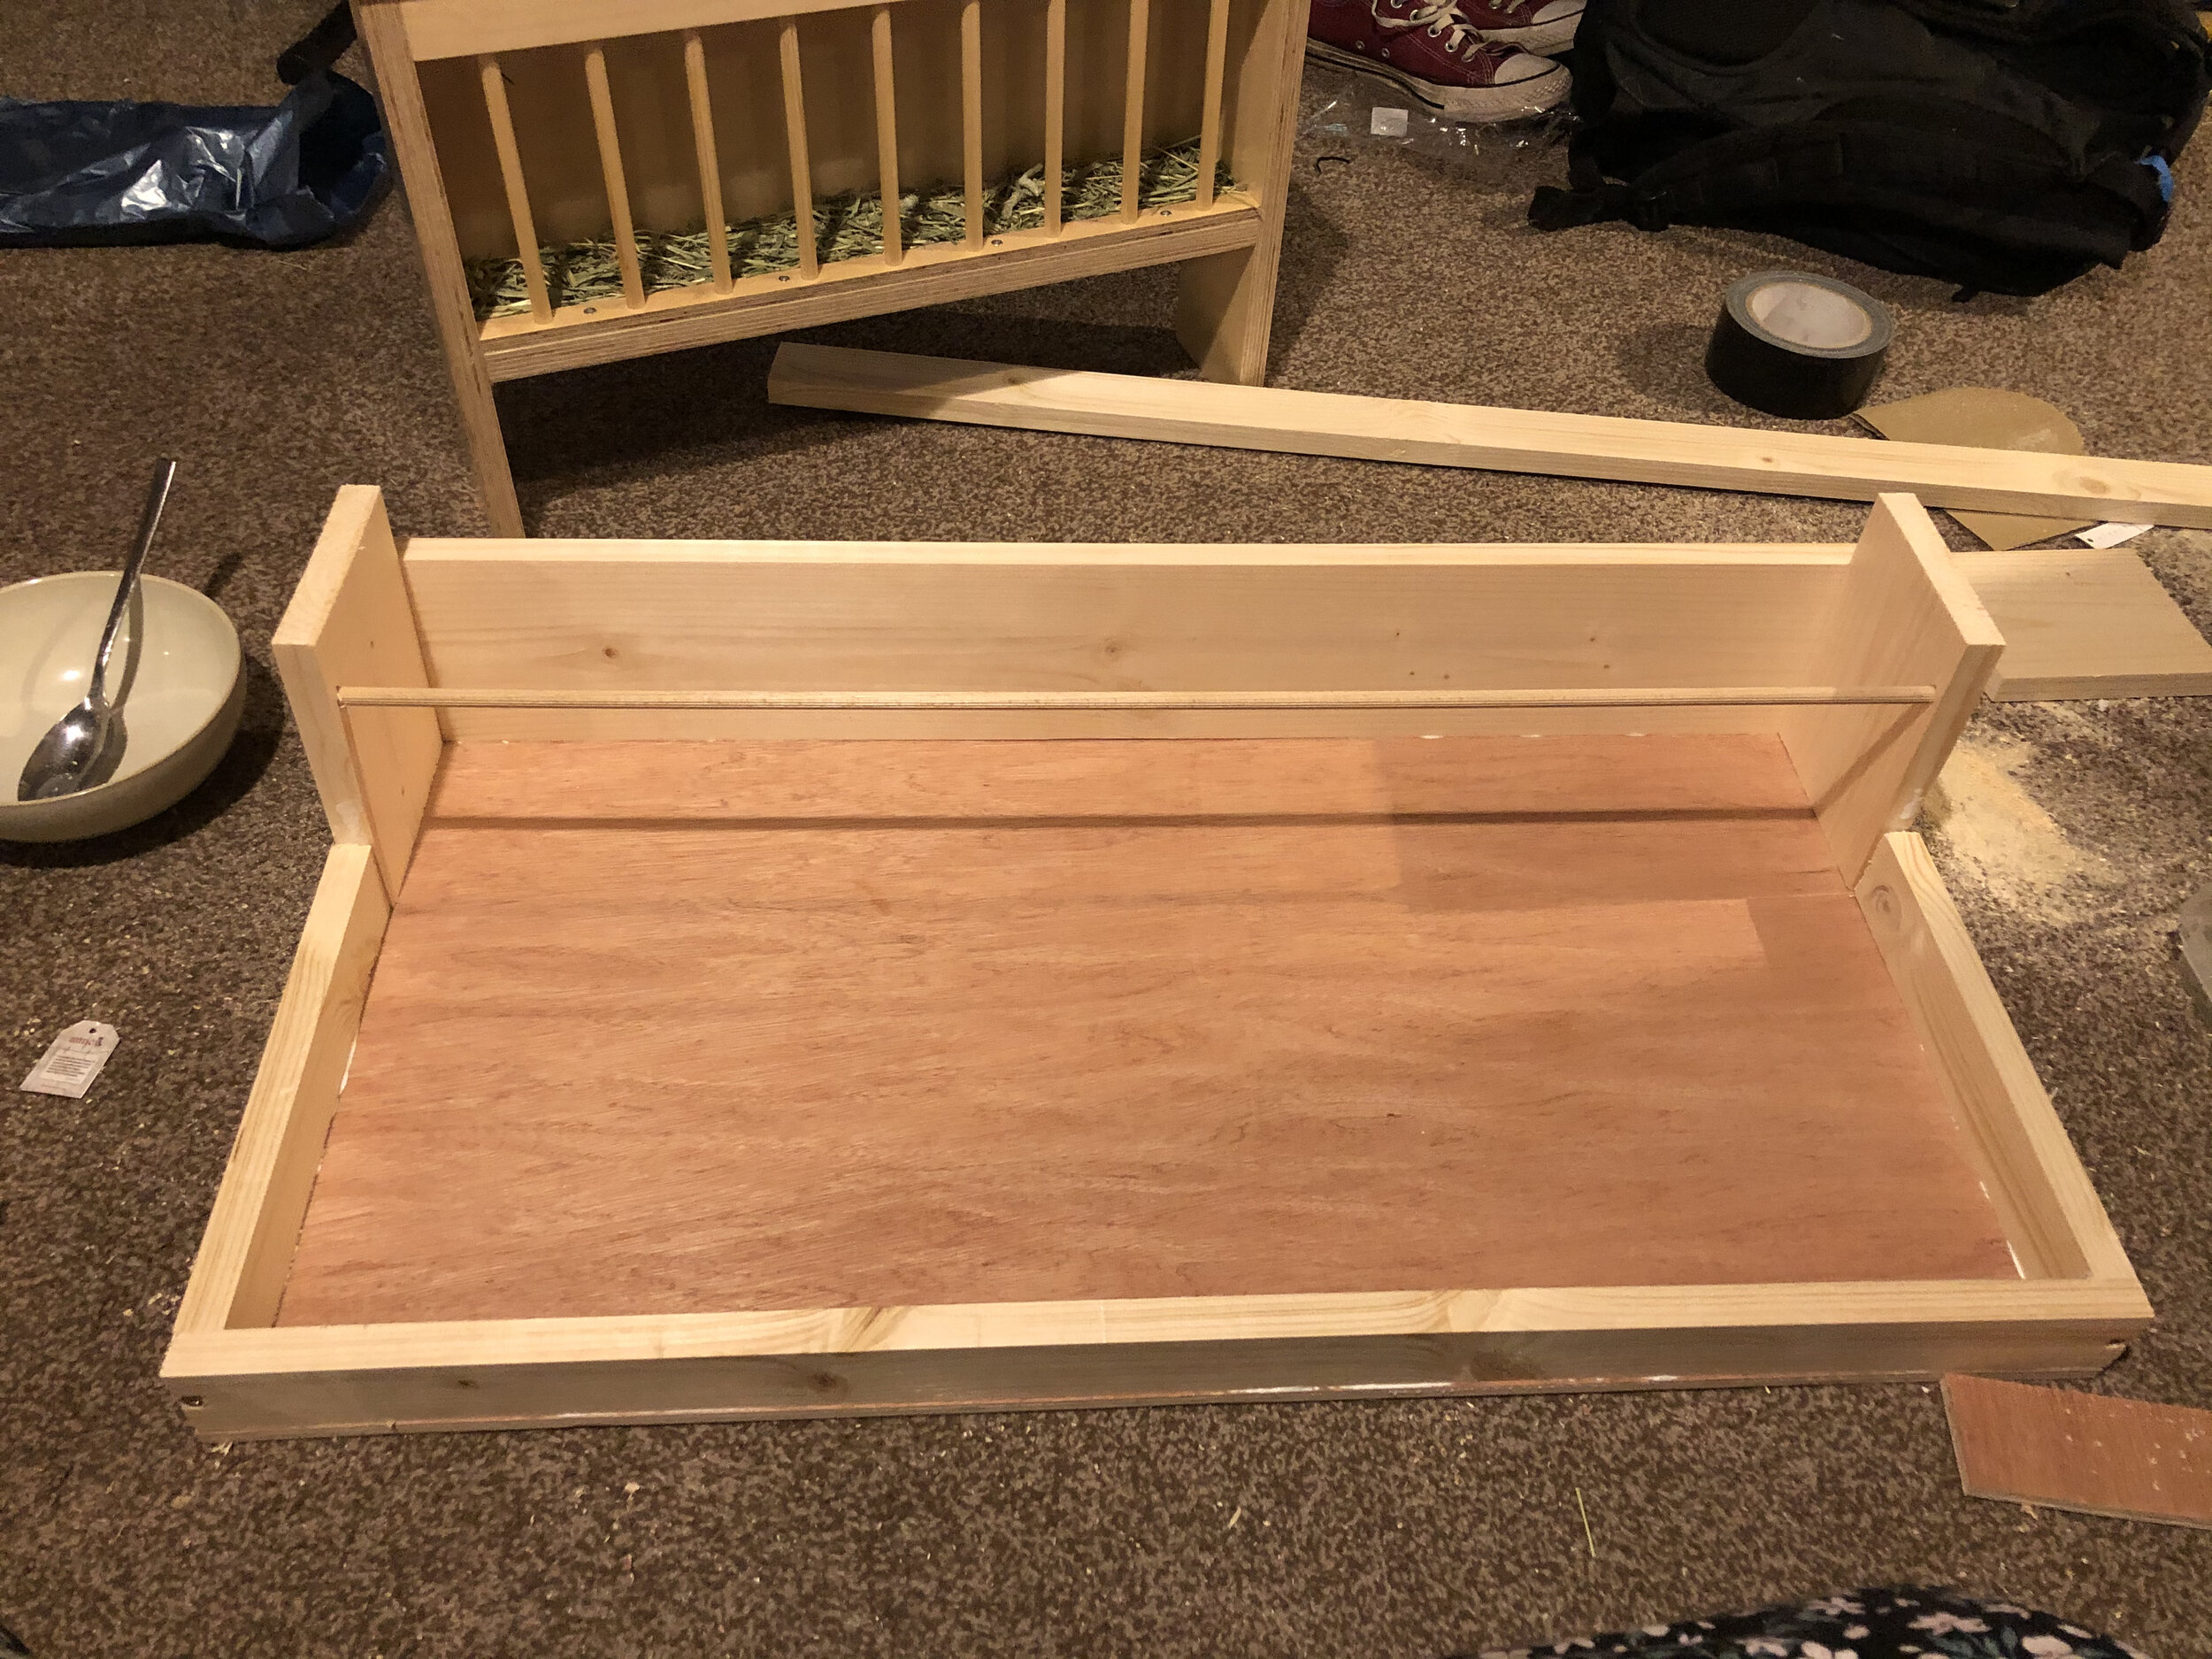
The hay tray has a plywood base (9mm I think), and a wooden border (screwed from the bottom through the base). The border is taller at the back. There's a dowel across the tray at a height of 80mm or so (at a guess). I made the tray the size of a 2x1 Guineadad liner. Here’s measuring the plywood to the liner, before cutting a bit off:

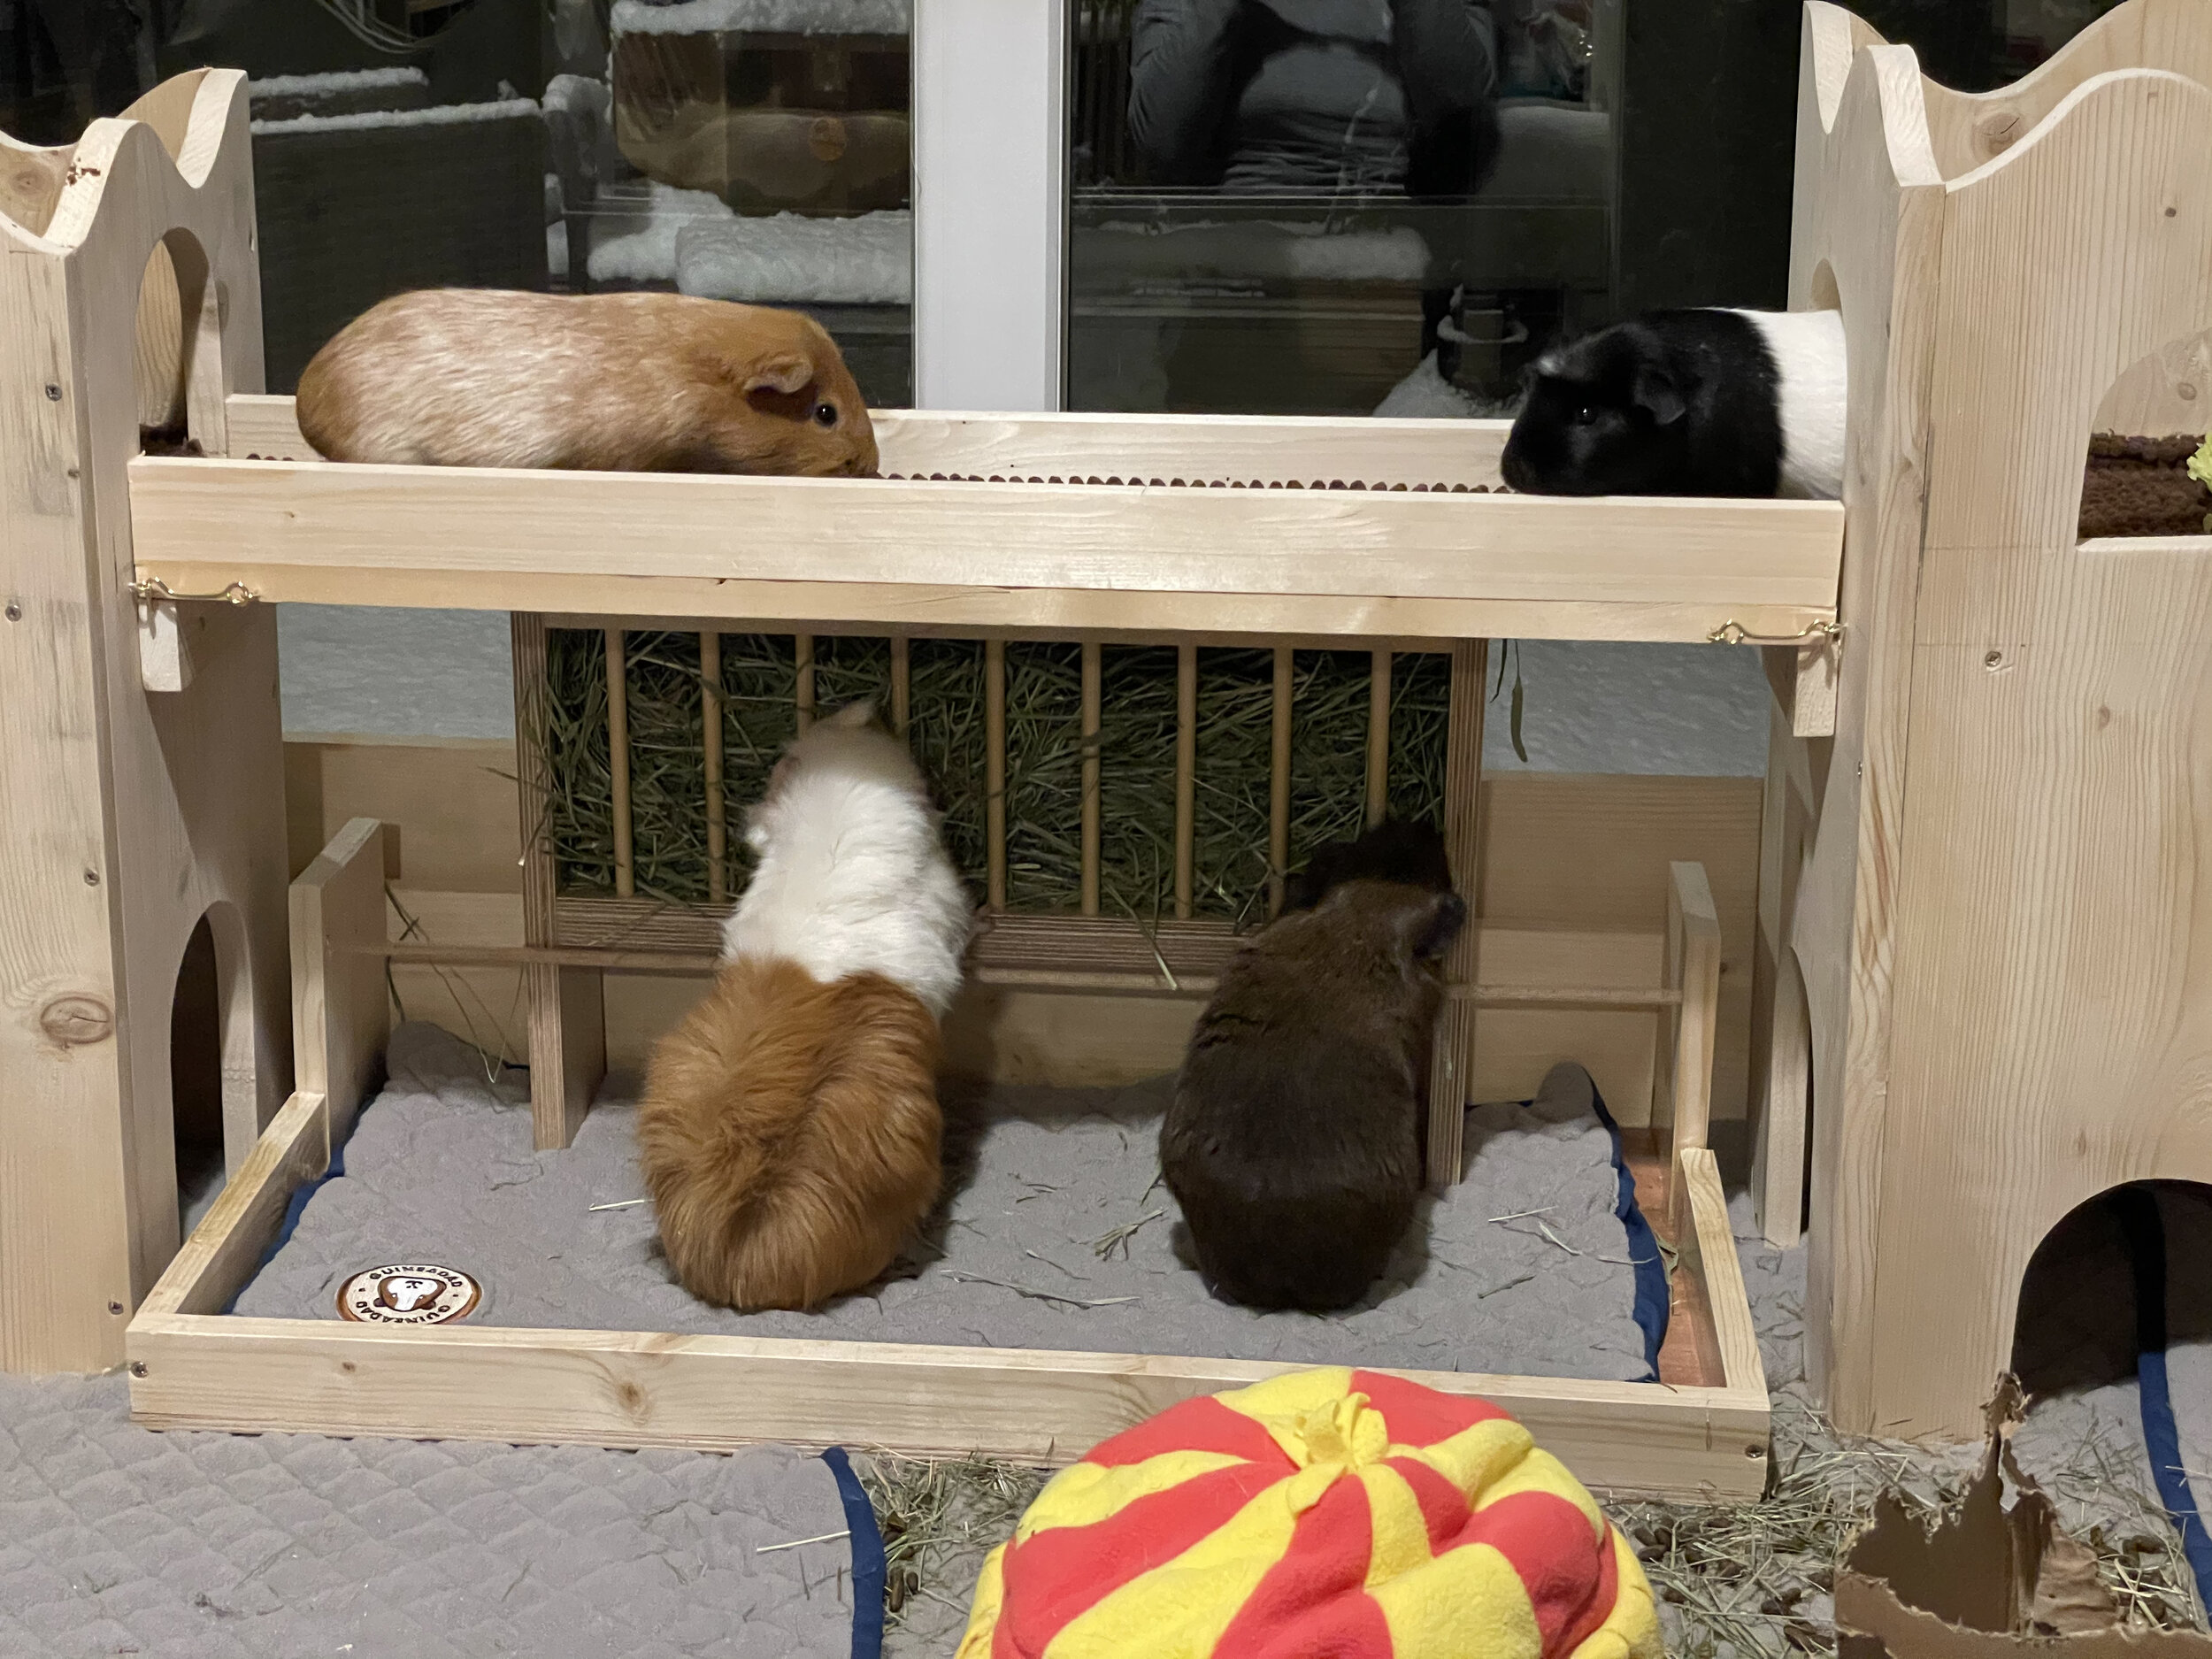
And the completed tray in situ:

It holds the spilled hay quite well if the pigs make a mess:

The pigs were happy enough at this point. But could I leave it there? Of course not. Pretty soon my hallway once again started to fill up with bits of wood:

It was time for a castle. I thought I’d start with one turret and a ramp.
The turret is made of various pieces of the 25mm x 275mm. I cut the four sides of the turret, using a cardboard template to draw the wavy pattern and cutting it with a jigsaw. I screwed two of the wall pieces together first. Then I added the platform for the top level (which I made high enough that a bridge could go over my hay rack), screwing it in place through the outer wall of the turret. Then I added the other two sides.

I had to cut the entrance holes in the turrets (both lower and upper). Lower ones could just be cut with a jigsaw. For the upper ones, I had to drill through to make a hole to get the jigsaw bit in to start cutting.

(I later made the side lower entrance of each turret a bit taller, so the pigs could hop into the hay tray more easily. At this point I hadn’t thought of that!)
I added a ramp (just made of three pieces of 25mm thick planed timber). I joined the ramp to the turret with a hinge, so it’s permanently attached. I had done the maths to make sure the ramp was at 30 degrees, as that seemed a reasonable angle for pigs to climb. I covered the ramp in offcuts of carpet — they just slotted in, the carpet is rigid enough it doesn’t move when pigs try to run on it. The top of the turret is covered in more Guineadad fleece.

You may be wondering why I have a C&C grid clipped over the base. It’s because at this point, two months after I got them, the pigs hadn’t decided they were happy enough in their home and didn’t need to escape. Yes they can jump over the door! My dining room is fairly safe for pigs, so it wasn’t a big deal, but I didn’t want it happening all the time.
By now (over six months after I adopted the pigs), they don’t jump over the gate and I leave it unguarded. I let them out for floor time frequently, and I think that satisfies their urge for exploration.
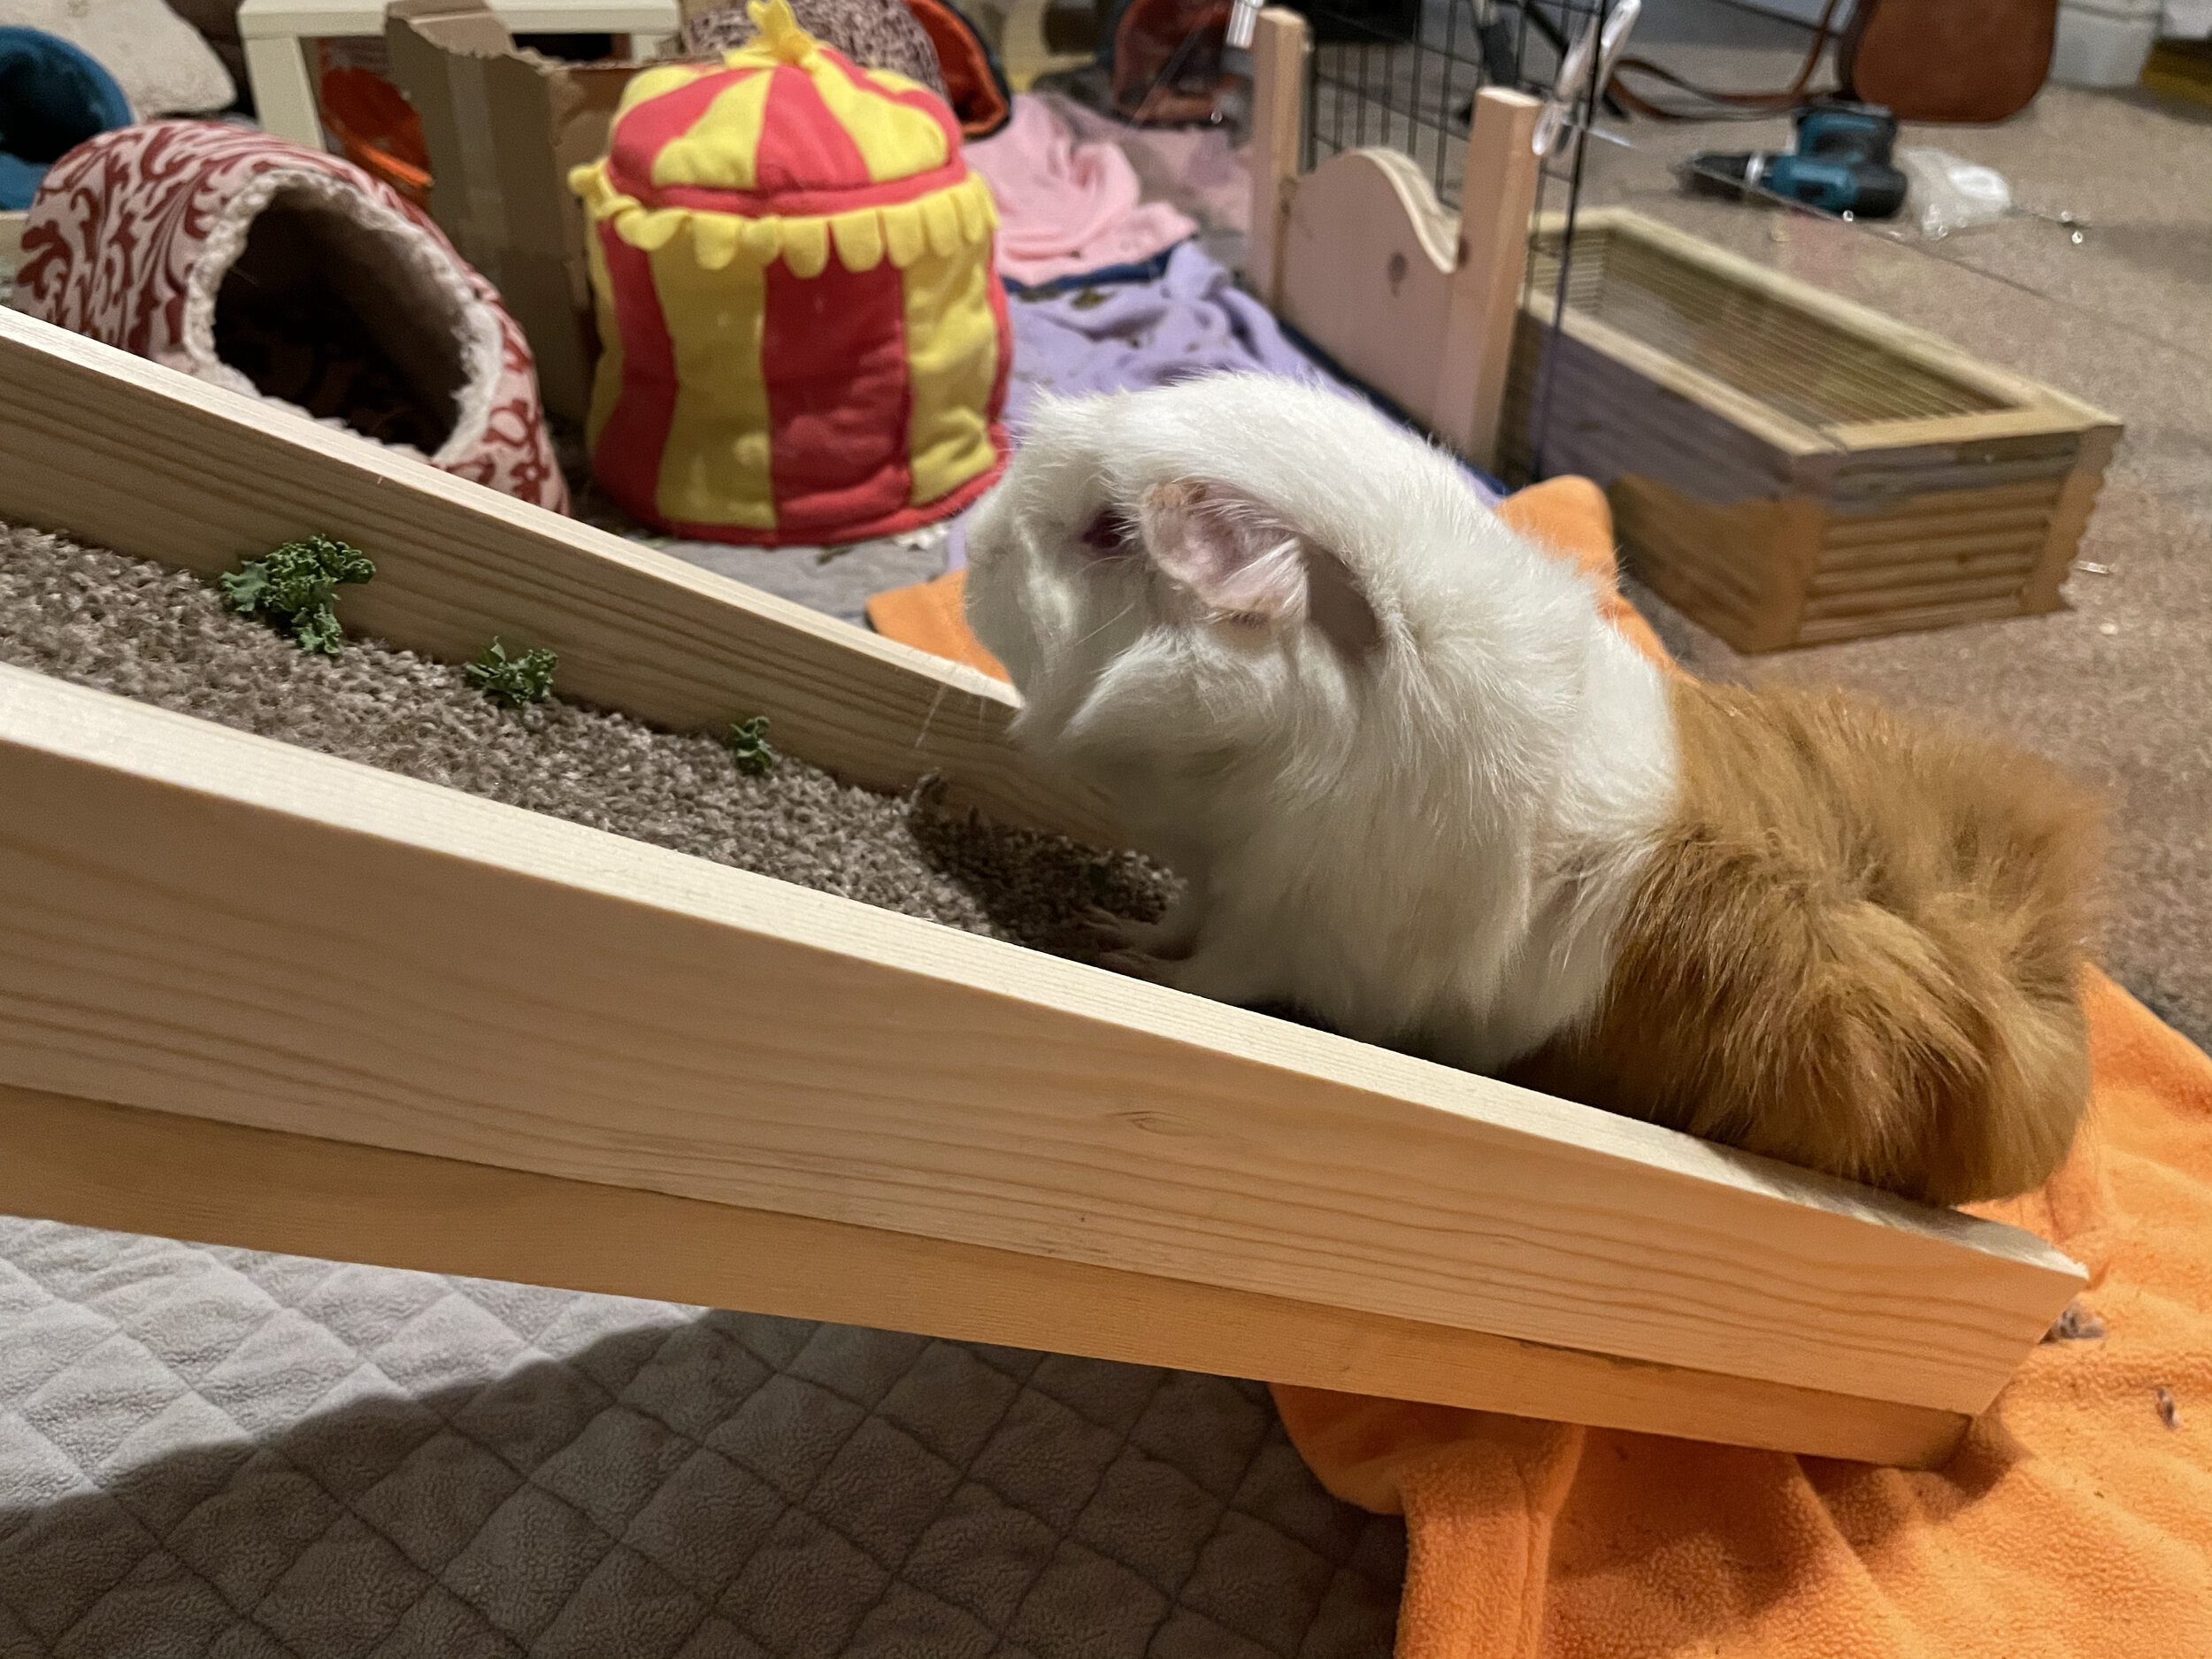
Anyhow, back to the construction project. The pigs were getting used to their new ramp, with the incentive of strategic vegetables:

But there was nothing for it: to realise my vision, I needed another turret, and a bridge!

To attach the bridge to the turrets, I screwed an offcut of wood to the side of each turret just below the opening (for the bridge to rest on). Then I used a hook and eye on each side, so that the bridge clips into place and cannot slide off. (To remove it, I just unhook the hook and eye.)
Here are the piggies getting used to their new bridge. I lined the bridge with a bit of cut up bath mat.

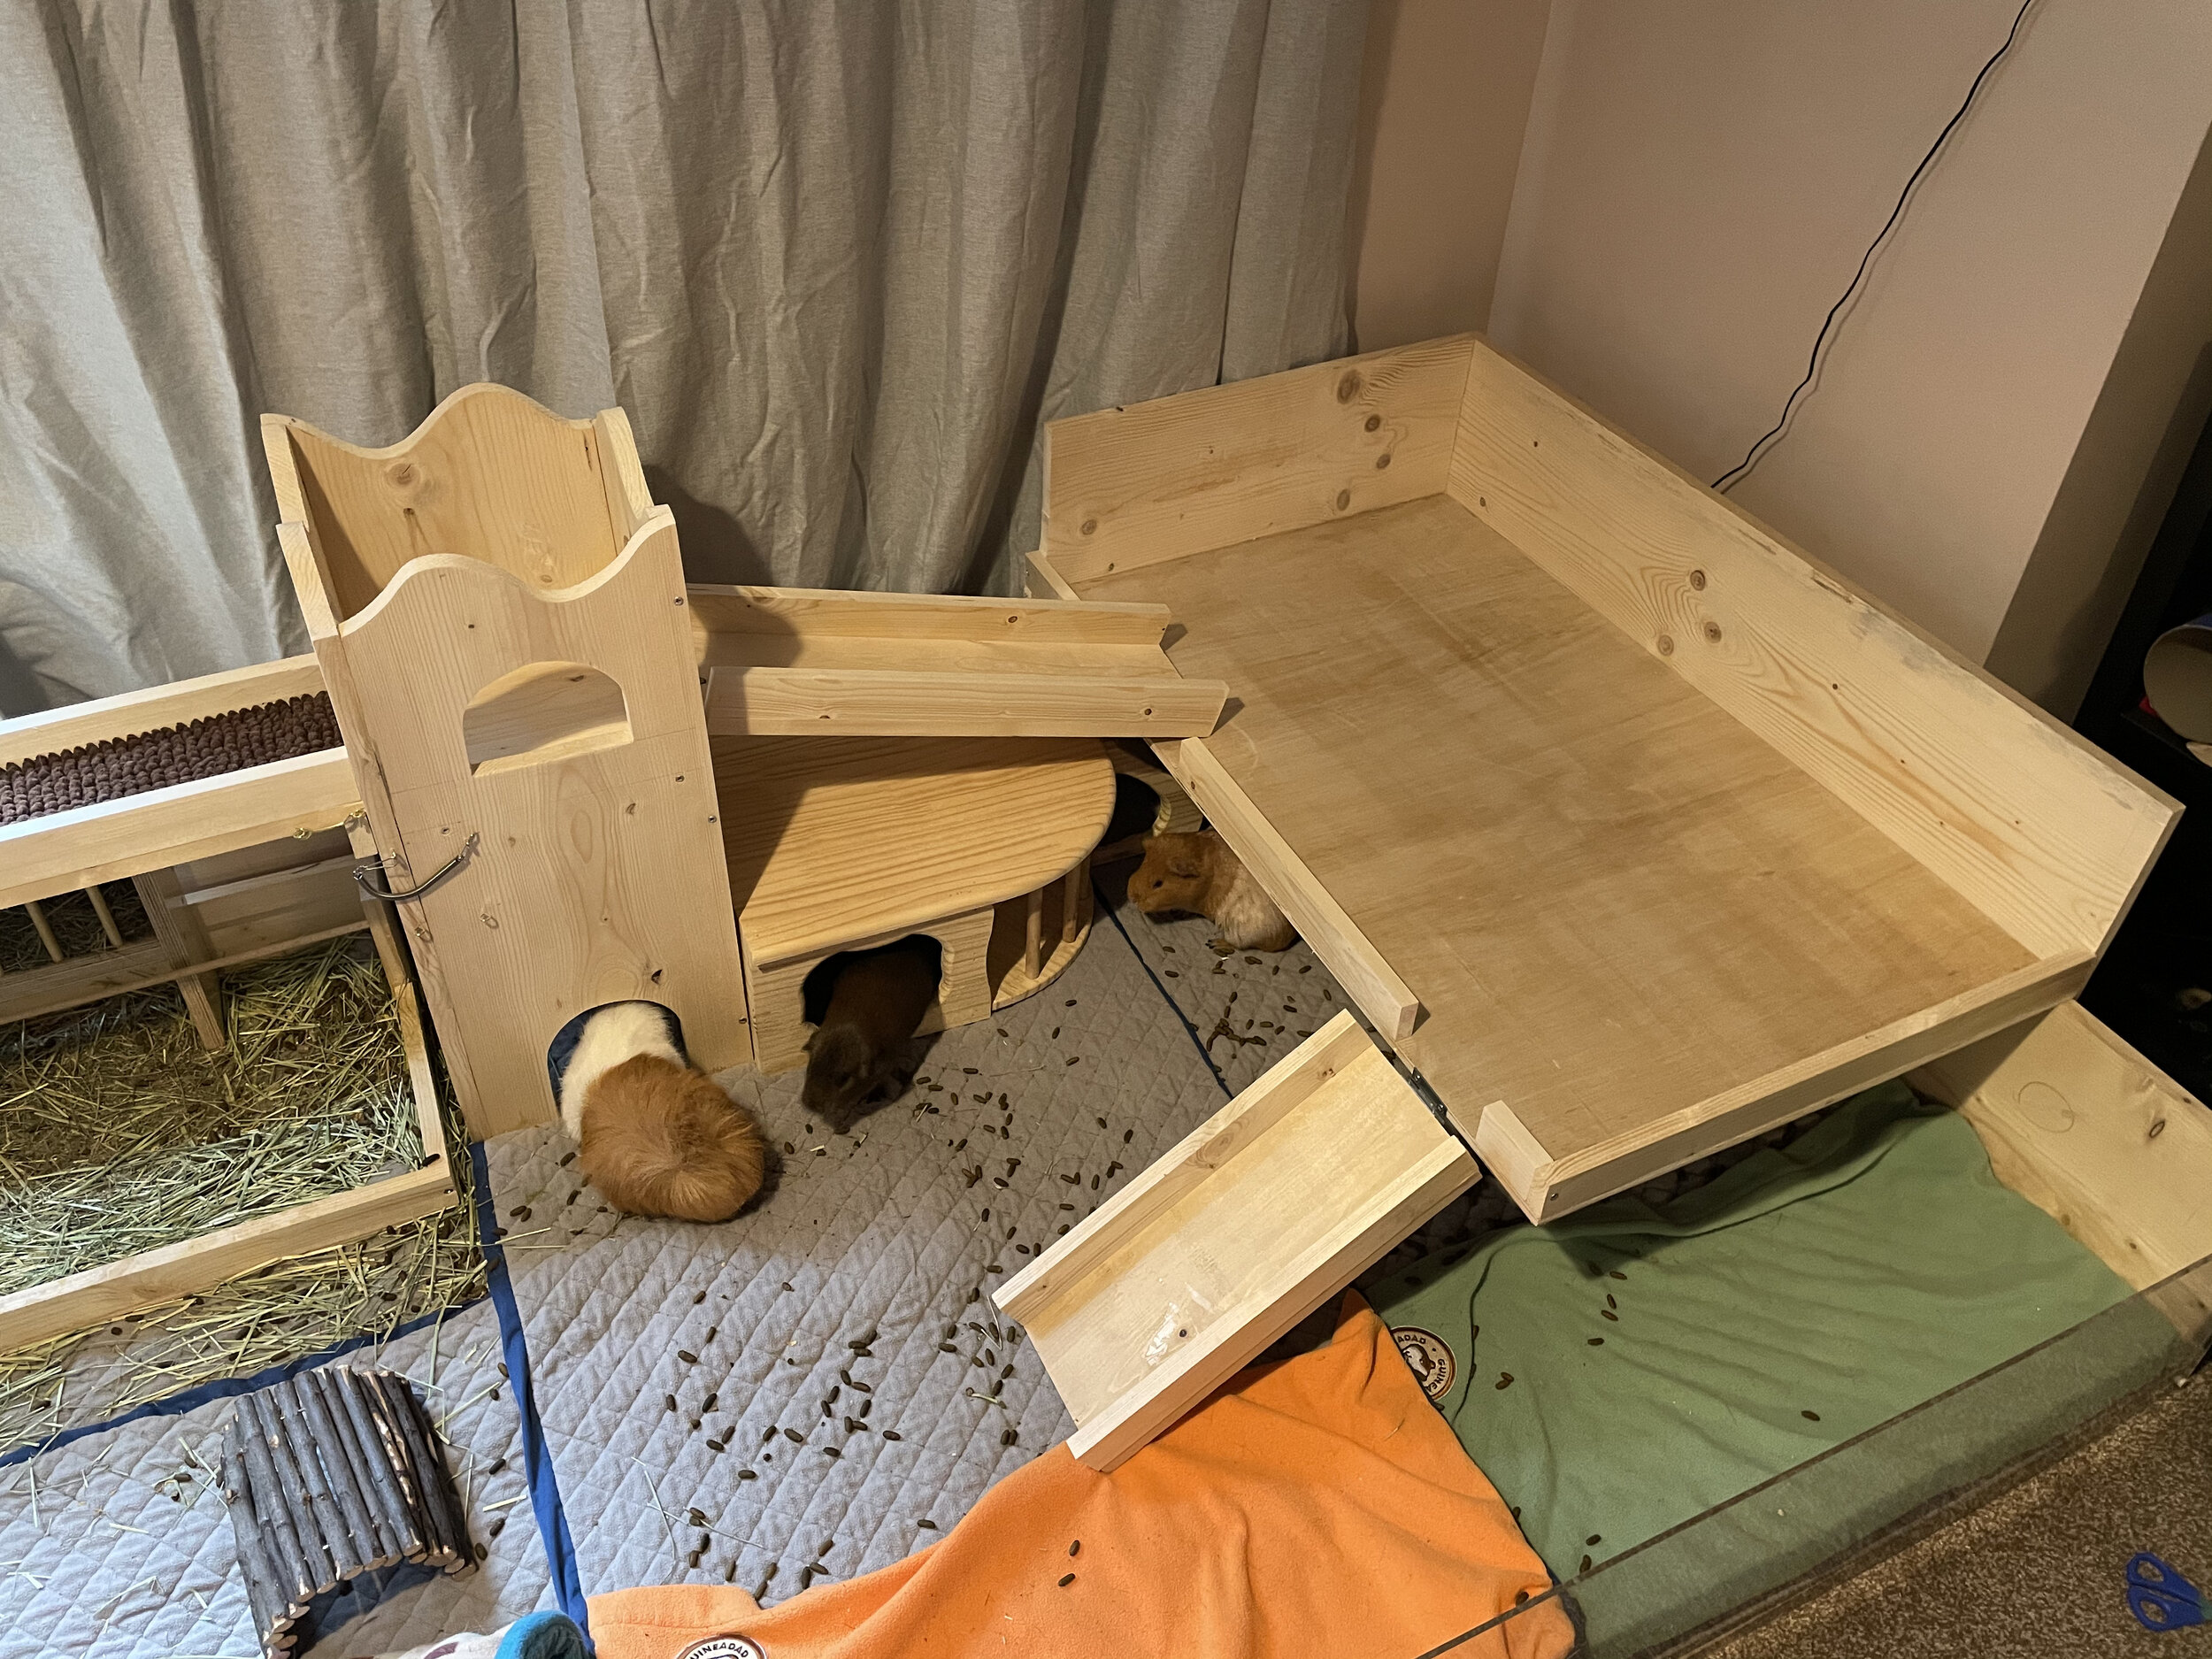
I could have stopped there, but my friend Vic was insistent that it would be a good idea to make the castle route a complete loop, so the pigs could run round and round it. Also, that would mean a bossy pig could not corner another pig with no way to escape. So I drew up more plans… for a second level to one end of the enclosure. I bought a piece of plywood and measured it to fit:

I decided to cut the length a bit shorter, so it didn’t come so close to the front of the enclosure. I think I went for 600mm x 800mm in the end.

Crucially I had the wooden walls overhang the bottom of the wooden base by about an inch. This lets the upper level rest on the wooden wall of the main enclosure, without being able to fall in (since the overhang slots on outside.) It just drops on, it’s not fastened any other way, as shown here.

Once again I had to remember high school maths in order to work out the ramp angle:

The pigs enjoyed discovering the new ramp. I tried lining it with bath mat (which is easier to cut than carpet), but it wasn’t great, so I replaced it with carpet soon after.

Only one thing remained, another ramp from the castle down onto the second level. This required cutting another entrance hole into the second turret.
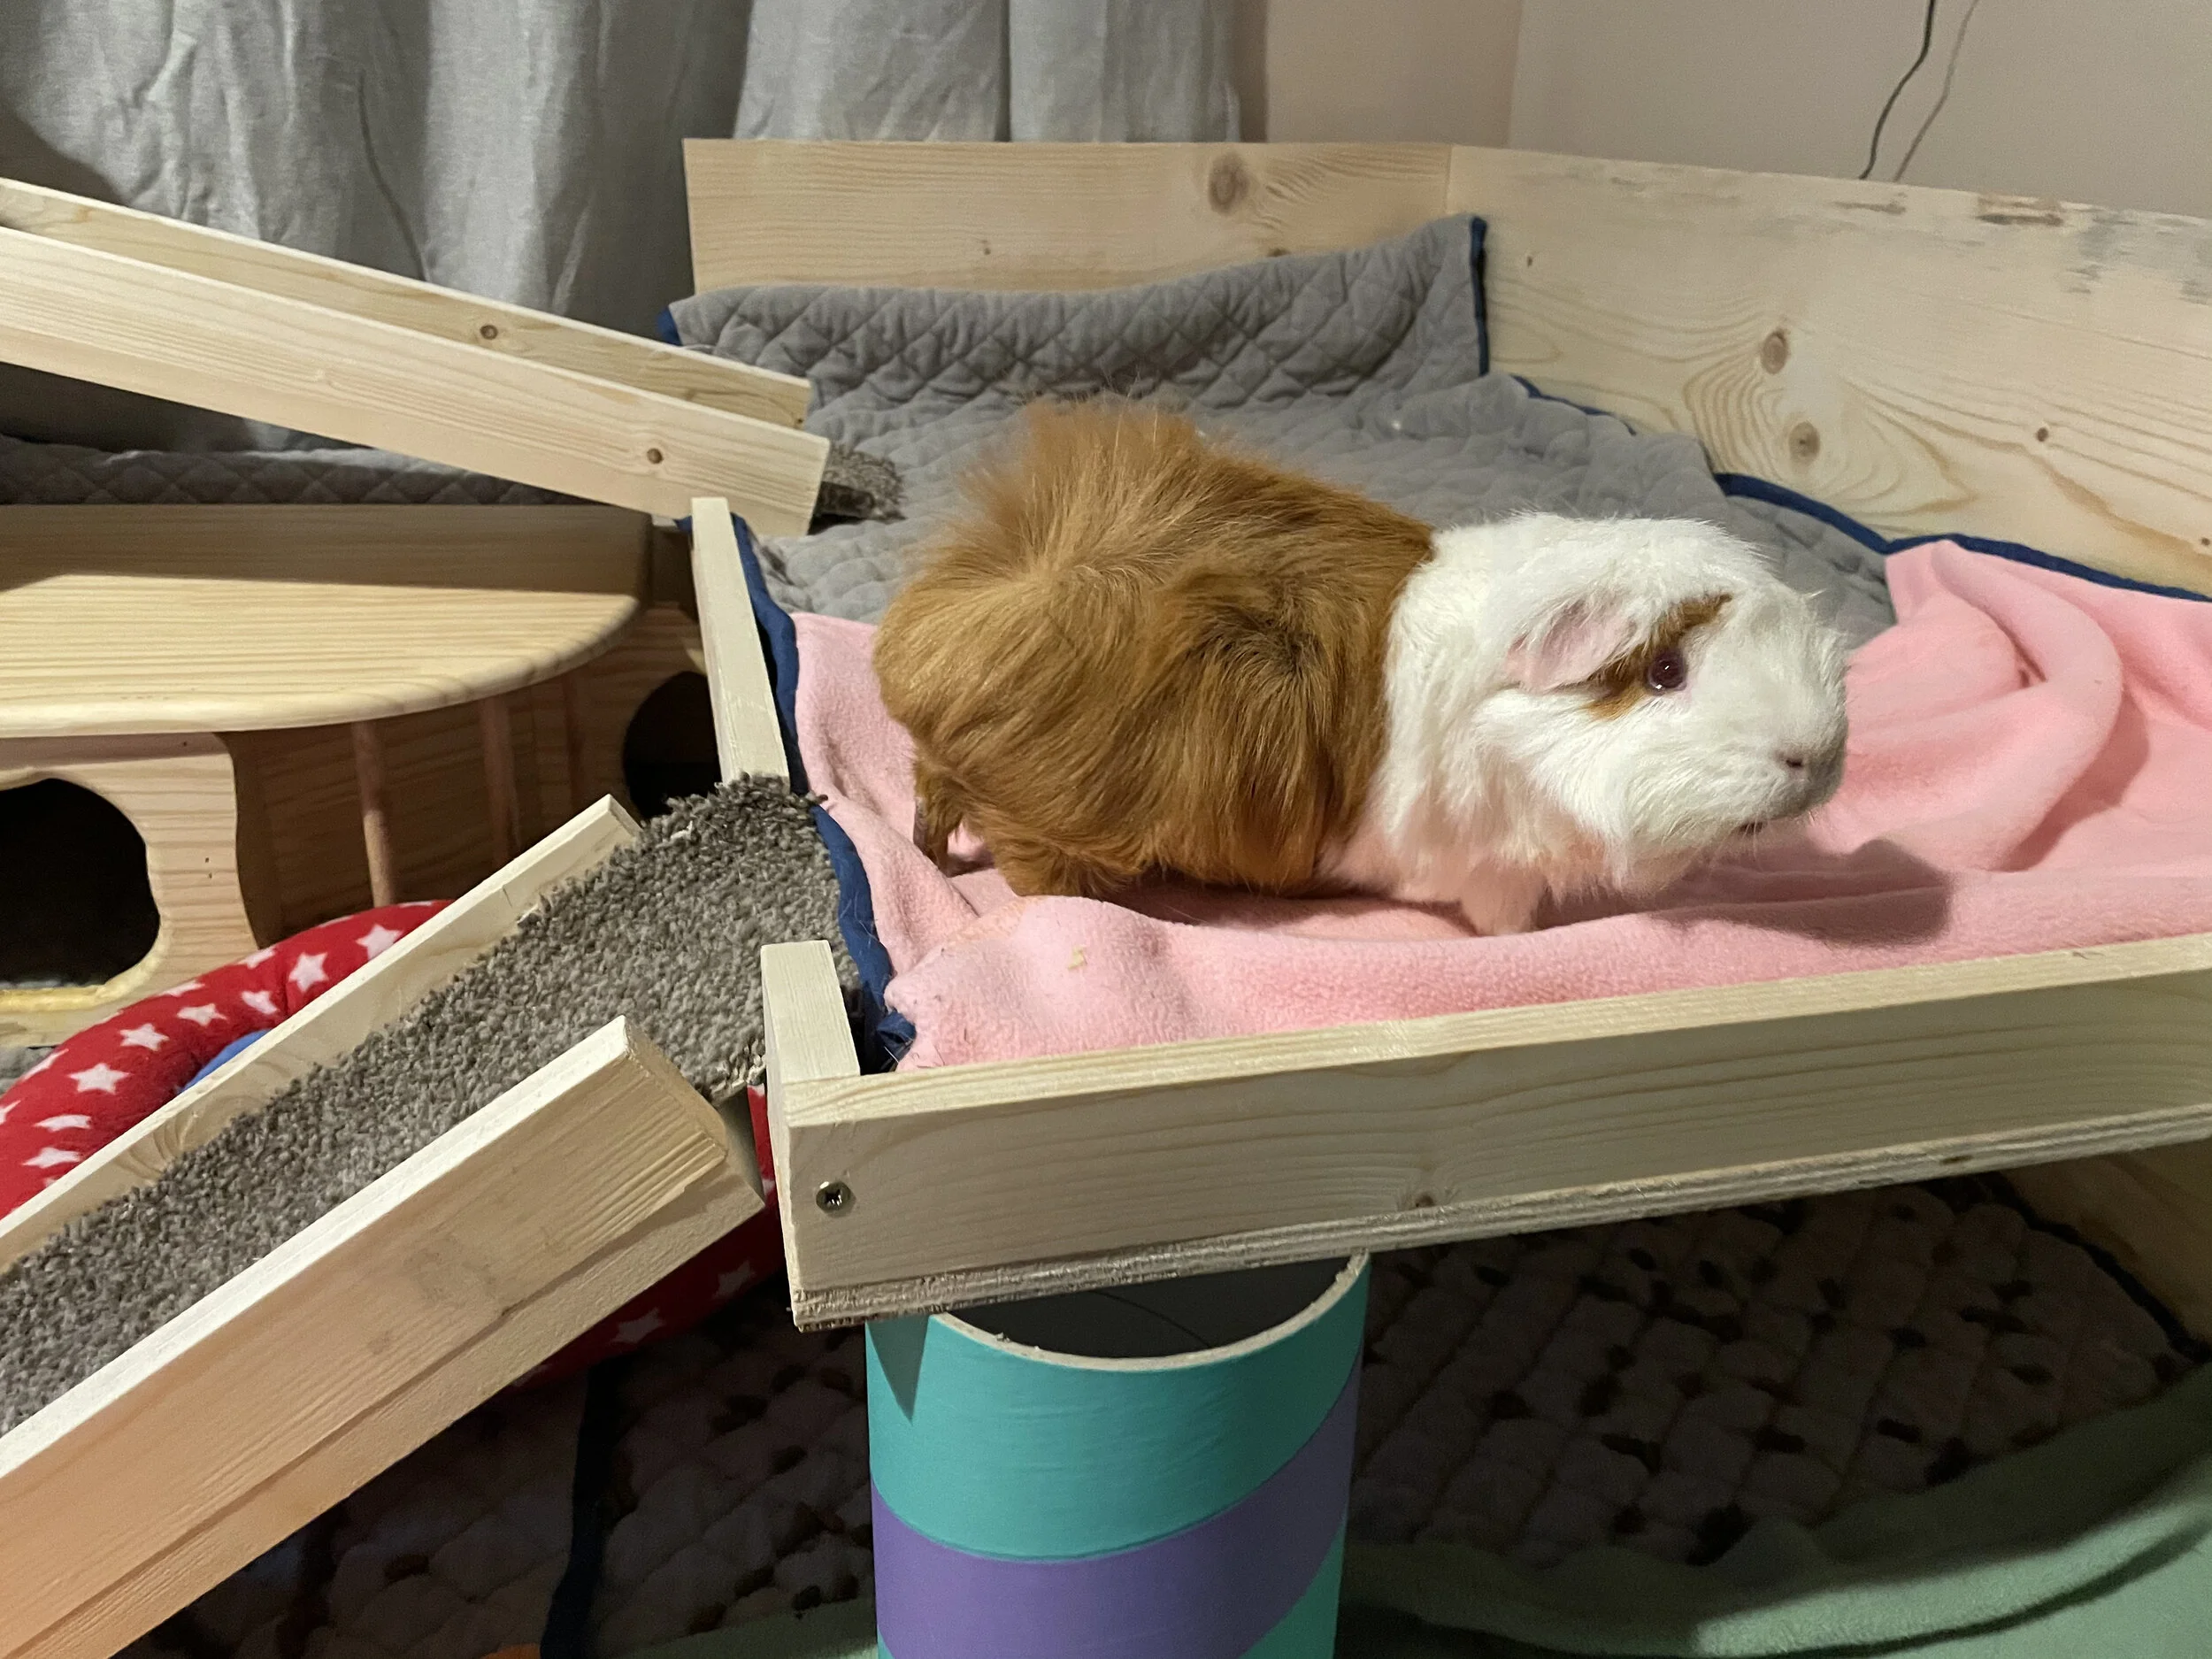
And finally we’re done. Merry-Pig is checking it out. Note that I’ve used a cardboard tube to support the second level — it’s not necessary to stop it falling, but it means it won’t vibrate when the pigs run across it.